
Why We Chose Our Hoop House
- Toni Kenyon

- Jun 13, 2021
- 7 min read
Updated: Aug 1, 2021

Glass House vs Hoop House
We deliberated for such a long time, but in the end we decided to go with a Hoop House for our Auckland urban garden. Mainly because we live in a reasonably high wind area and lots of my local gardening friends were losing glass panes regularly from their glass houses.
Also, when we looked at the size that we wanted, the hoop house was (almost) half the price (for good quality) so we went with locally built (local being New Zealand) and waited for our hoop house to arrive.
But...a bit of backstory...because you know I'm all about 'the story'!
For as long as I can remember I’ve wanted a glass house.
I think it might stem from an early memory that I have of my parents parking their car in a garage facility that had a commercial tomato growing facility just over the fence.
How I marvelled as a child as I watched those plants climb up the side of the glass house wall, spreading their green tendrils, until the tell tale bright red fruit could be seen through the glass walls.
The romance of growing things in warm spaces took on gargantuan proportions when I first visited the summerhouse in Auckland’s Wintergardens. All manner of fascinating plants were growing in what felt like a subterranean space.
What I remember overwhelmingly from those visits was the warm humid scent in the air and the sense of what could be contained in the earthy smelling enclosure.
I knew from an early age that a glass house was the key to growing things that couldn’t be grown out in the open air. No-one grew tomatoes in the garden in England (well, not where I lived as a child) but I could see them growing in that glass house just up the road.
Tomatoes could certainly be grown in the garden when I moved to New Zealand—and we grew them every summer—but still I knew that the glass house was the key to extending my growing season, even here in New Zealand.
A glass house is a huge investment in gardening.
It’s not the same as digging over a piece of ground and throwing a few seeds (or seedlings in) and watching them grow.
I felt that being the owner of a glass house meant that I was taking my gardening seriously and a glass house wasn’t something that I could just up and move when I moved house—which I was doing with monotonous regularity at one point.
Ask me about how I was supplying me and the family with greens on a tiny apartment balcony.
It’s not been until the last few years that circumstances have seen me settled in one spot. Literally, putting down roots.
Still, the investment in that glass house looked like it was way out of my reach.
Glass House Mark I
So, I did what I see many people do. I went to our local retail store and invested in a small plastic tiered shelving unit that masquerades as a glass house for people with limited space.

It was a tall and upright affair that clipped together to form a frame and then had grid-like shelving that fitted into the frame. It looked like a small plastic portaloo. The plastic front could be unzipped on each side and then rolled to the top and held open with an inadequate tie in the middle.
Parts of the framework are still being put to good use in my current hoop house.
But, it worked. I could grow my seedlings and plant starts and I got ahead with my outdoor garden.
I figured that I could carefully prop this small glasshouse up against the house (facing north) and I’d have a head start on the growing season. Remember, here in New Zealand north is the way you want to face to get the best of the sunshine.
What I hadn’t figured on was the harsh (and unpredictable) north westerly winds that we receive in springtime. I spent a lot of time rescuing my destroyed seedlings after the entire structure had been blown over in the middle of the day or night, or shifting them in and out of the house while the winds blew. I was always on tender-hooks, checking the weather forecast and wondering what the wind was going to do next.
I even tried tying the entire structure down, but the wind would get a hold of the plastic and rip it away from the sewn seams.
Either way, this was not the best investment that I’d ever made.
On a positive note, I did end up having a jump-start on the growing season and I was able to over-winter some bell peppers in the bottom of the house. I learned a lot about overheating and there was a fair bit of scorching seedlings that went on. I also learned what I could and couldn’t grow in this tiny space that went from frigid cold to boiling hot in a heartbeat.
But that first attempt at a glass house eventually gave way to plastic Mark II.
Glass House Mark II
Our second attempt at a glass house was a more serious walk in affair.

It was made of similar materials as the first, but this was more of a tent-like arrangement, with a lovely long shelf that ran down the left-hand side.
There was also room to put what was left of the first glass house along the other side. Plastic shelving fixtures become brittle and break in harsh New Zealand sunshine. The cheap metal had rusted in some places, but I still managed to salvage three shelves from the last affair. Gardener’s are, if nothing else, thrifty and I love recycling anything that I can.
In Mark II I still only had a front door, but the fact that I could actually walk inside made so much difference. I spent an incredible amount of time inside this tiny space while it grew a large array of vegetables and started many seedlings for us. This was our real “trial” for a “proper” greenhouse.
We decided if this worked and I enjoyed working the greenhouse, then we would take the plunge and make the investment in a larger and more permanent affair.
In the meantime, I did some research on YouTube, because Mr Music was even more concerned about our roaring spring nor-wester’s with Mark II’s ability to catch the incoming wind.
We fixed large pieces of timber to the bottom of the plastic to hold it down in gales. We put in light aluminium cross braces and after one particularly terrifying spring storm (when we thought we’d be retrieving Mark II from the park down the road) we put on guy-ropes with good strong stakes beaten into the ground.
The cat loved these! He spent many an afternoon in the sunshine scenting these pieces of wood, curling around them and playing with the guy ropes.
Anyway, the entire arrangement worked beautifully. We had almost four winters with Mark II and I was quite sad to see her go when we made the move to our permanent hoop house.


But, Mark II was well past her use by date when she eventually retired. The zips held up to the opening and closing, but in the end, due to the harsh New Zealand sun, the velcro gave up the ghost. I resorted to holding the flap open with a loop of yellow rope. I was also using hoop house tape to hold the plastic together where it was dissolving by the time we finished with her.
During the first Covid-19 lockdown in New Zealand, Mr Music and I did what many people in the world were doing, sitting at home and looking at each other and deciding how we actually wanted to live our lives—if we ever got out of lockdown again.
Post covid-19 plans were made and these included replacing the rapidly declining Mark II.
We’d looked at just about every available glass house and hoop house on the market by this time. I’d spoken to friends in the neighbourhood and some spoke of losing panes of glass during spring and winter storms. I joined online groups and read what others had to say about their chosen products. I had endless hours of ‘glass house envy’ during these long periods of research. Everything looked so lush and green and seemed to grow so well. By the time I’d finished researching, I was even more determined that a glass house had to be a part of my garden plans.
We certainly knew how harsh the wind could be in our garden at certain times of the year, so in the end, we opted for a Morrifield tunnel house. Other people online raved about them. How easy the were to put together, how great the company were to deal with and, most importantly, about how well they stood up to wind and that was the deciding factor for us.
We ordered the hoop house and, as soon as deliveries were available again, I watched with great excitement as it travelled from one end of the country to the other.
The Hoop/Tunnel House
The great day arrived and the courier van dropped the flat pack on our driveway.
I’m pleased to report that Mr Music and I had nary a cross word during the construction phase. It was great to see the house coming together.


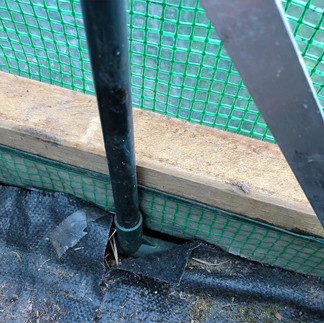
We sited it so that the door faces north, it is shaded by an apple tree from the harsh afternoon summer sun and we’ve since discovered that the bulk of the house keeps the hoop house cool during the summer mornings.
I’d watched the temperatures in Mark II go up as high a 40 degrees C in summer, but with the cross-breeze that we get from the roof vent, door and window, I’ve never seen such high temperatures in the hoop house.
Even during the hottest part of summer, the temperature never got over 34 degrees C.
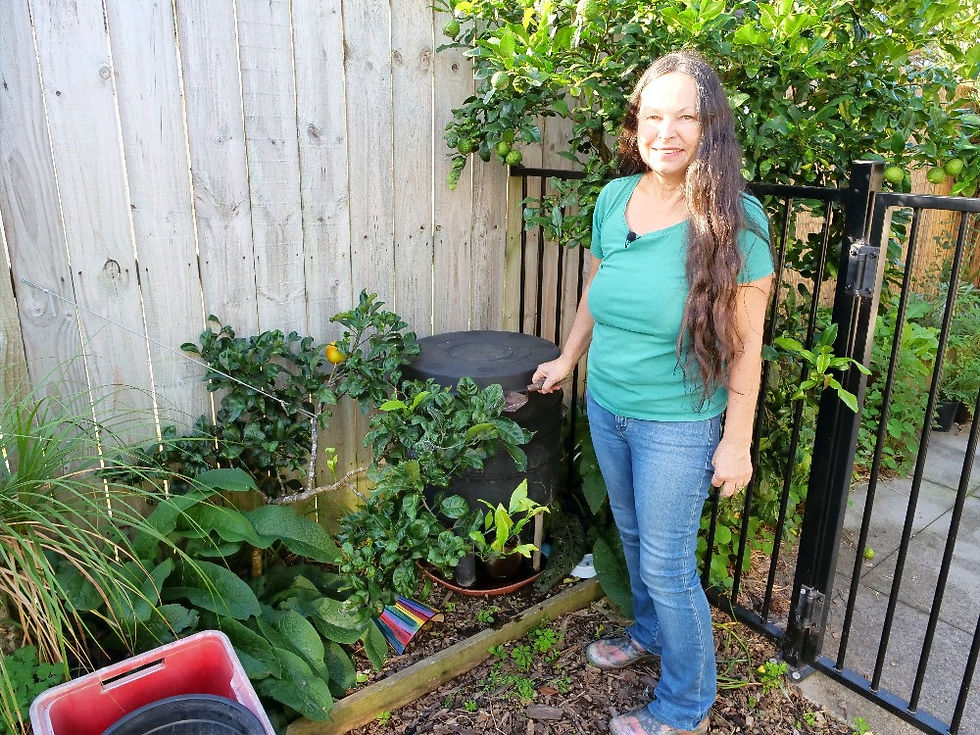
We’ve had some amazing crops since we installed the new hoop house. I choose to plant closely and directly into the ground and (so far) this seems to suit the hoop house.
I opted for in ground beds (instead of raised beds) and I’m pleased that I did this, considering that Auckland has been on water restrictions since last winter and that’s meant ferrying watering cans of water to the hoop house. I can’t imagine how fast raised beds would have dried out with the extra heat generated in the hoop house.
Deep mulching, lots of compost and worm tea seem to be paying off in spades (excuse the pun…sorry…not sorry!)
So there you have it.
The hoop house journey.
I’m know I’ll continue to have plenty to share as we continue to grow in our new garden investment.
There's a video tour of the hoop house here .
Love & Lettuce,
Toni xx


Comments